
Ordinarily, converting a DC layout to a DCC layout is a fairly straightforward task when going from simple loops; you would unplug the DC controller, plug in the DCC controller and away you go.
This one however, got me stumped…
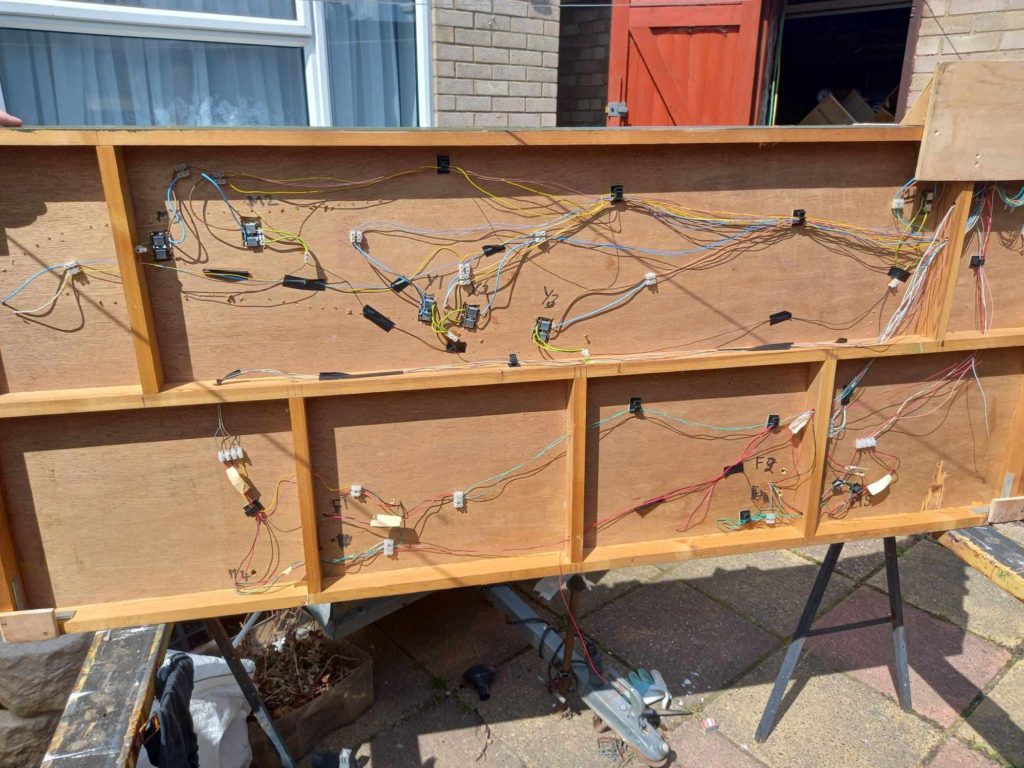
I came into the hobby when DCC was already around – my only experience of DC “layouts” is setting up the oval of track that you get in your first train set, so flipping up the baseboard to see a myriad of different colour wires and more switches than points had me confused.
I’ve heard of isolated sections on DC layouts, but I’ve never actually seen them in place. So back down went the layout so I could poke and prod away at the rails with an altimeter to find out where sections were isolated. Once noted, I was then able to add dropper wires to each section of track.
Back undeneath the board I then removed all of the existing wires as it turns out these were just for the solonoid point motors and to control the power to the isolated sections. Once done, I then ran a loop of 18AWG red and black wire around the board and attached the dropper wires using T-Tap wire connectors. Once done, I then put the board back down and went at the rails again with the altimeter and discovered a problem; all of the rails, on both sides of the track, were now electrically connected.
Bugger.
I checked and rechecked all of my dropper wires to make sure that I’d used a constant schema (black for the outside, red on the inside), and made sure that each was connected to the correct bus wire. All was correct so I couldn’t understand where the short circuit was coming from, and then I spotted it: the electrofrog points. The previous owner hadn’t used insulated joiners for the points (due to having isolated sections on the platforms), and now that I’ve added droppers to all sections of track, the inner rails of the station passing loop were now connected via the frog. A quick 30 seconds with the dremmel to isolate the frog on the station area (plus the ones in the yard and fiddle yard) and boom! All sorted. The black rails were now only connected to the black rails, and the red to the red.
So that’s all of the wiring for the track now done, and as I had some time left in the evening I stripped down so 5A flex and used the earth wire to connect all of the common terminals for each of the solenoids.
Next on the list is wiring up the point motors…
Wire: https://amzn.to/3yLaLAM
T Tap connectors: https://amzn.to/3AA8WHt
One thought on “Rewiring Rhad Valley for DCC”