Digital Command Control (DCC) revolutionizes the way model railways are powered and controlled. Unlike traditional Direct Current (DC) systems, DCC allows for independent control of multiple locomotives on the same track, providing a more dynamic and realistic operating experience. This guide will take you through the steps to wire up a model railway layout using DCC power.
Understanding DCC in Model Railways
In a DCC system, digital signals are sent through the rails to decoders installed in each locomotive. These decoders interpret the commands and control the speed, direction, and functions of the locomotives. This system eliminates the need for complex wiring and block controls required in DC systems.
Essential Components
- DCC Command Station: The brain of the DCC system, it generates the digital signal and supplies power to the track.
- DCC Booster (if needed): Increases the power capacity for larger layouts.
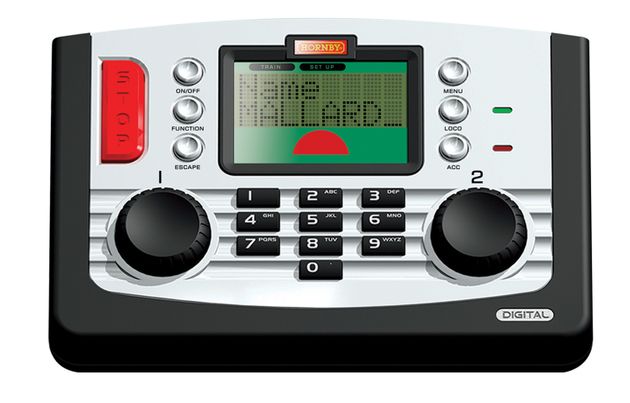
- DCC Throttle/Controller: Used to send commands to the locomotives via the command station.
- DCC Decoders: Installed in locomotives to interpret DCC signals and control the engine.
- Track: The rails that will carry the DCC signals and power.
- Wiring: Conductors to connect the command station to the track. Common wire gauges for DCC systems range from 14 to 22 AWG.
- Rail Joiners: Metal clips that connect sections of track electrically.
- Terminal Blocks: For organizing and distributing power connections.
- Soldering Tools: For secure connections between wires and track.
Steps to Wire Your Model Railway for DCC
- Plan Your Layout: A detailed layout plan helps in deciding where to place the command station, boosters (if needed), and additional feeders.
- Lay the Track: Assemble your track according to your layout plan. Ensure that all connections are tight and secure using rail joiners.
- Install the DCC Command Station:
- Position the command station centrally or in a convenient location for easy access.
- Connect the command station to a reliable power source.
- Connect the Command Station to the Track:
- Identify the output terminals on the command station. These are usually labeled “Track A” and “Track B” or similar.
- Using appropriate gauge wire, connect these terminals to the rails. Soldering the wires to the rails ensures a solid connection, but rail joiners with built-in wire connections can also be used.
- If soldering, strip the wire ends, apply flux, and solder the wire to the rail. Be careful to avoid melting the plastic ties.
- Add Feeder Wires:
- For larger layouts, a single connection to the command station may not provide consistent power. Add feeder wires every 3-6 feet.
- Solder feeder wires to the rails and connect them to the main bus wires running beneath the layout. Use terminal blocks to organize and secure connections.
- Install DCC Decoders in Locomotives:
- If your locomotives are not already equipped with DCC decoders, install them following the manufacturer’s instructions. Ensure proper wiring and isolation from the motor.
- Create Power Districts (if needed):
- For very large or complex layouts, consider dividing the layout into power districts. Each district can have its own booster to ensure adequate power distribution.
- Use insulated rail joiners to separate districts and connect each district to its own booster.
- Test the Layout:
- Before running trains, test the voltage across different sections of the track using a multimeter. Ensure consistent voltage across the layout.
- Program and run a locomotive around the entire track to check for any dead spots or inconsistent power. Troubleshoot as necessary by checking connections and adding additional feeders if needed.
- Fine-Tuning and Maintenance:
- Regularly clean the track to ensure good electrical contact.
- Check and maintain all connections, especially solder joints and terminal block connections.
- Periodically test and update decoders as needed for optimal performance.
Tips for Successful DCC Wiring
- Use Color-Coded Wires: Helps in identifying connections and troubleshooting.
- Keep Wires Organized: Use cable ties or wire looms to keep wiring neat.
- Label Everything: Especially important if using multiple boosters or creating power districts.
- Safety First: Ensure all connections are secure and there are no exposed wires that could cause shorts or other issues.
- Invest in Quality Components: Using high-quality wire, connectors, and components can prevent issues and ensure reliable operation.
By following these steps and tips, you’ll have a reliably powered DCC model railway layout, ready for a dynamic and engaging operating experience. Whether you’re running a single locomotive or managing a complex network of trains, proper wiring is the foundation of a successful DCC model railway.